This is something I've looked for for a while, and finally found it hidden in a dark corner in the interwebs! I take no credits for this, I'm only sharing because I find it to be very useful.
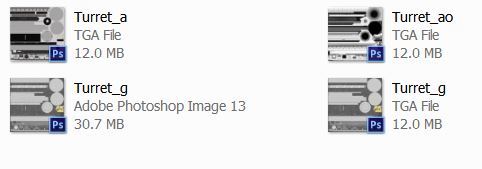
Mainly what this little program does, is that it allows you to preview you TGA/PSD files in window explorer. And that my friends, is awesome.
Follow the link to download it and install or get it directly from here!